Create a Paymaster
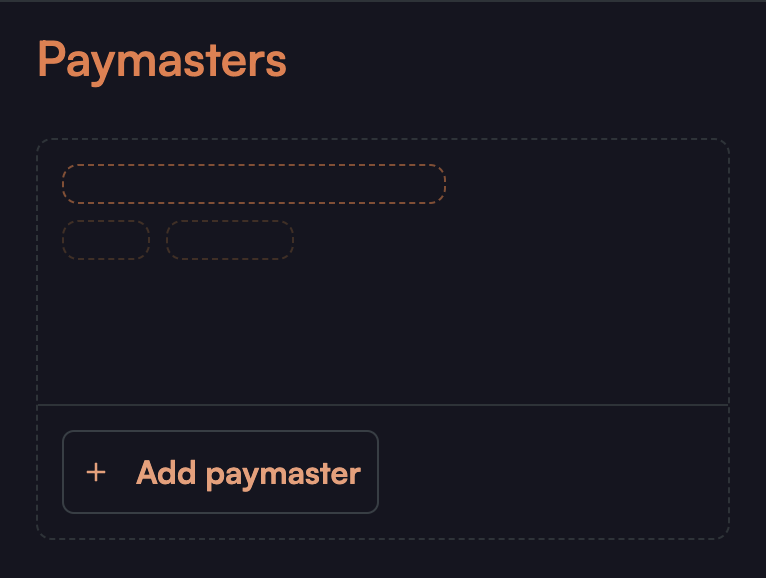
Add Paymaster
Once you log in to our dashboard, you'll be directed to the paymaster page. To add a paymaster, simply click the "Add Paymaster" button.
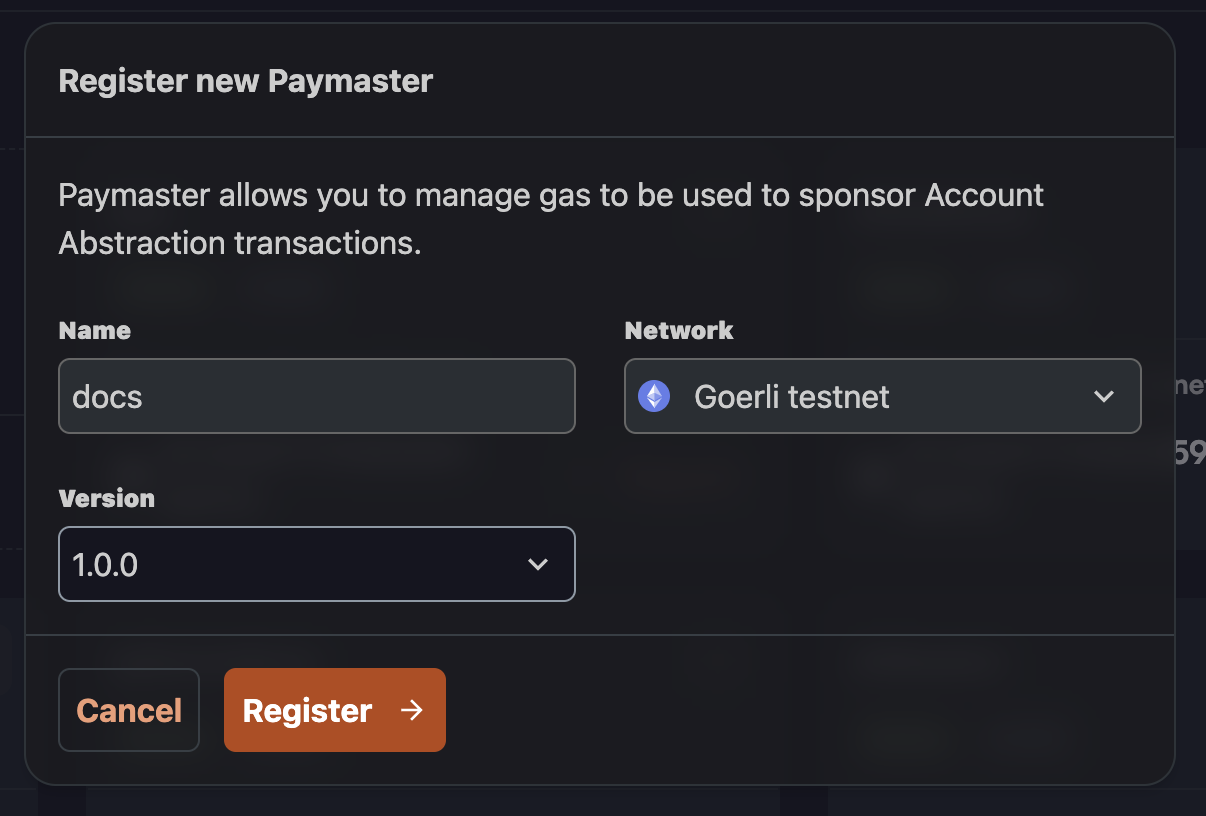
Register Paymaster
After clicking the "Add Paymaster" button, you can register the paymaster. Give it a name, choose a version (currently 1.0.0), and select your preferred chain.
Create Gas Tank
If you want to sponsor users' transactions to make them gasless, you'll need to set up a gas tank.
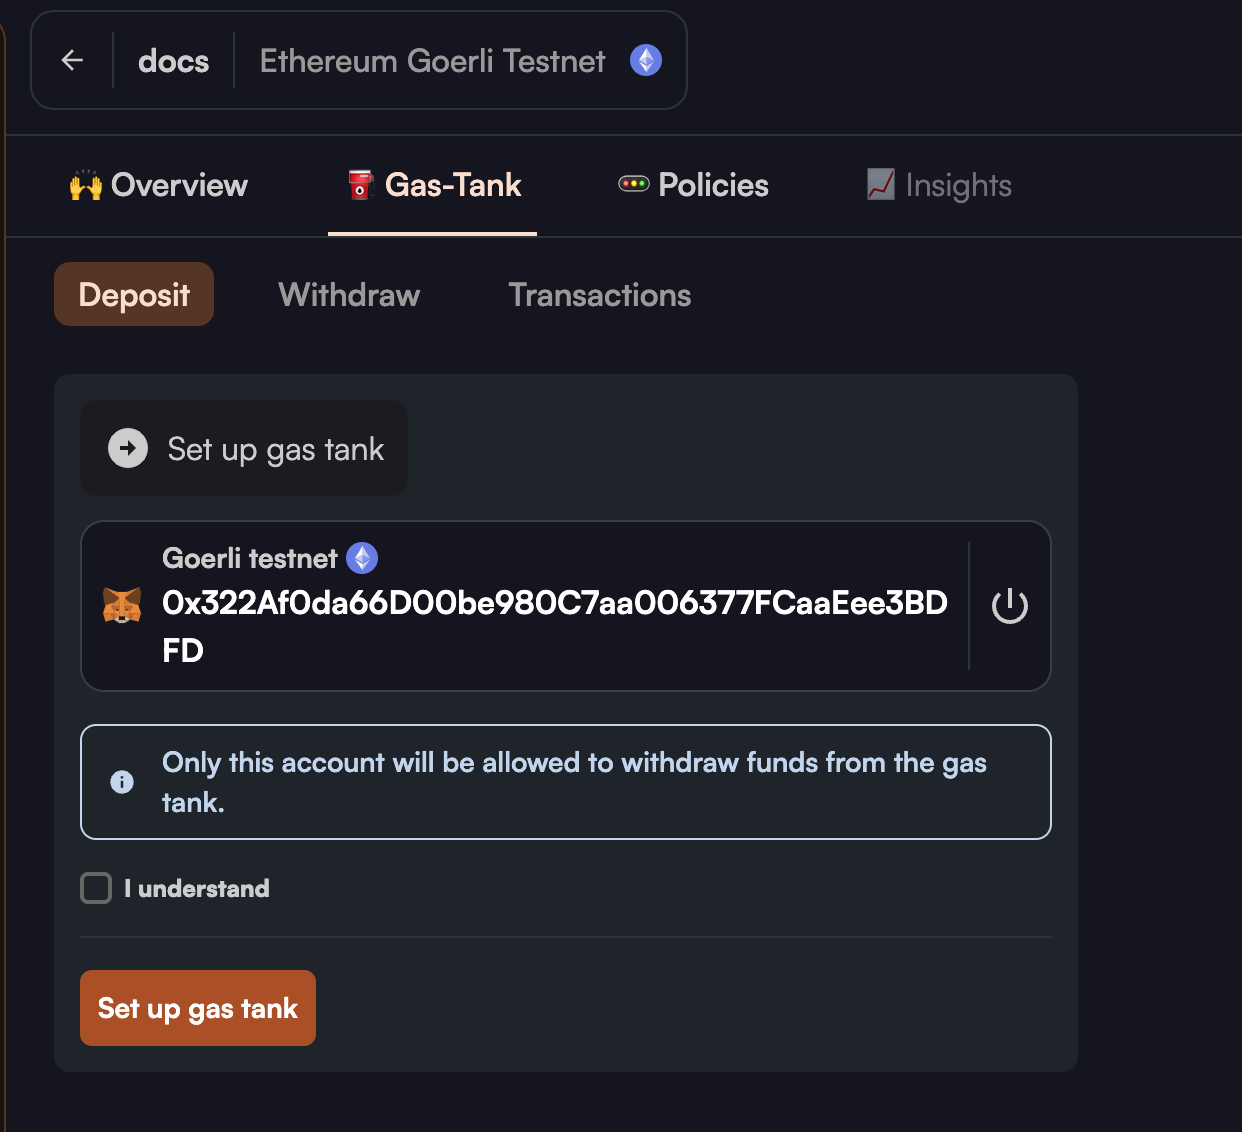
On the Gas Tank page, which you'll see for the first time, note the wallet you use for the initial setup. This wallet is the only one authorized to withdraw funds from the gas tank. When you click "I understand and set up gas tank," your wallet will prompt you for a signature. This action incurs some gas costs. Congratulations! Your gas tank is now set up.
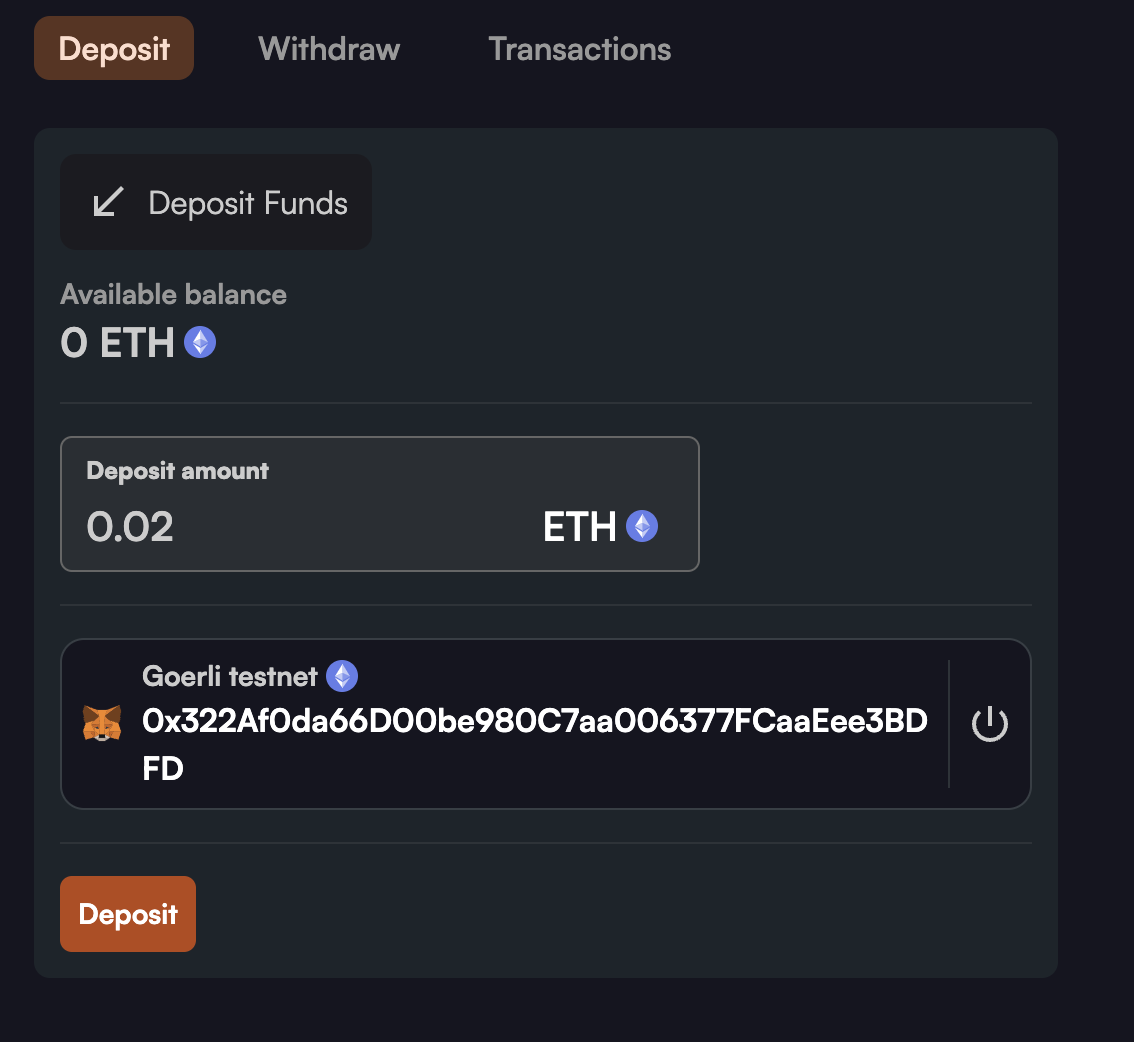
Deposit Funds
Now that your gas tank is set up, you can deposit funds into it. Choose an amount and click "Deposit" to fill up your tank. Once the transaction is confirmed, you'll be able to see the available funds in your gas tank.
You can programmatically deposit funds using the paymasterContract depositFor function by passing the amount and paymasterId which is the EOA address. For instance, you can invoke the following function on the Polygon chain.
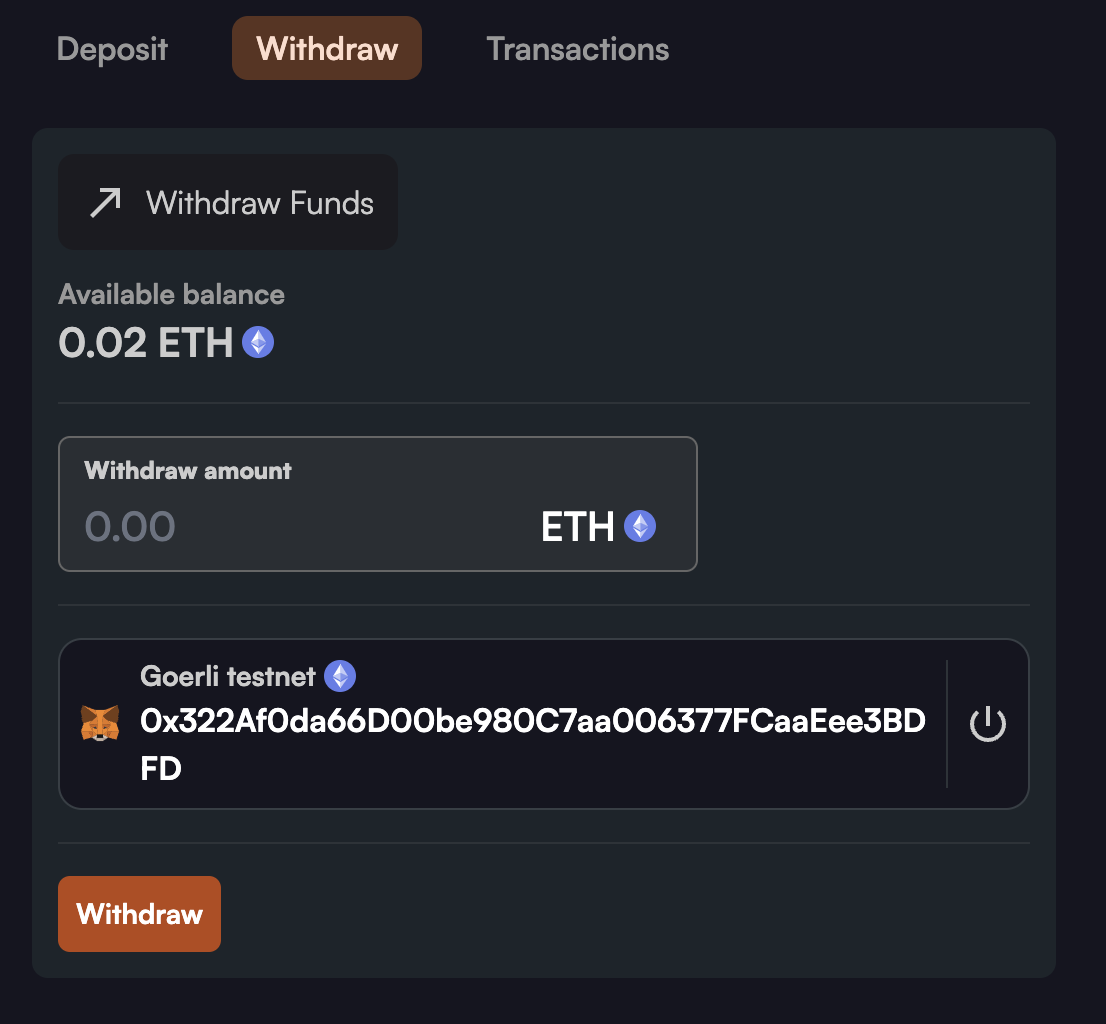
Withdraw funds
If you need to withdraw funds from your gas tank at any time, go to the gas tank page. Enter the desired withdrawal amount and click the "Withdraw" button.
